To use teeth bleaching safely at home, we recommend a dentist-approved whitening product used exactly as directed, after any cavities or gum problems have been treated. Keep the gel away from your gums and follow the stated wear time. Stop treatment if you develop pain or irritation.
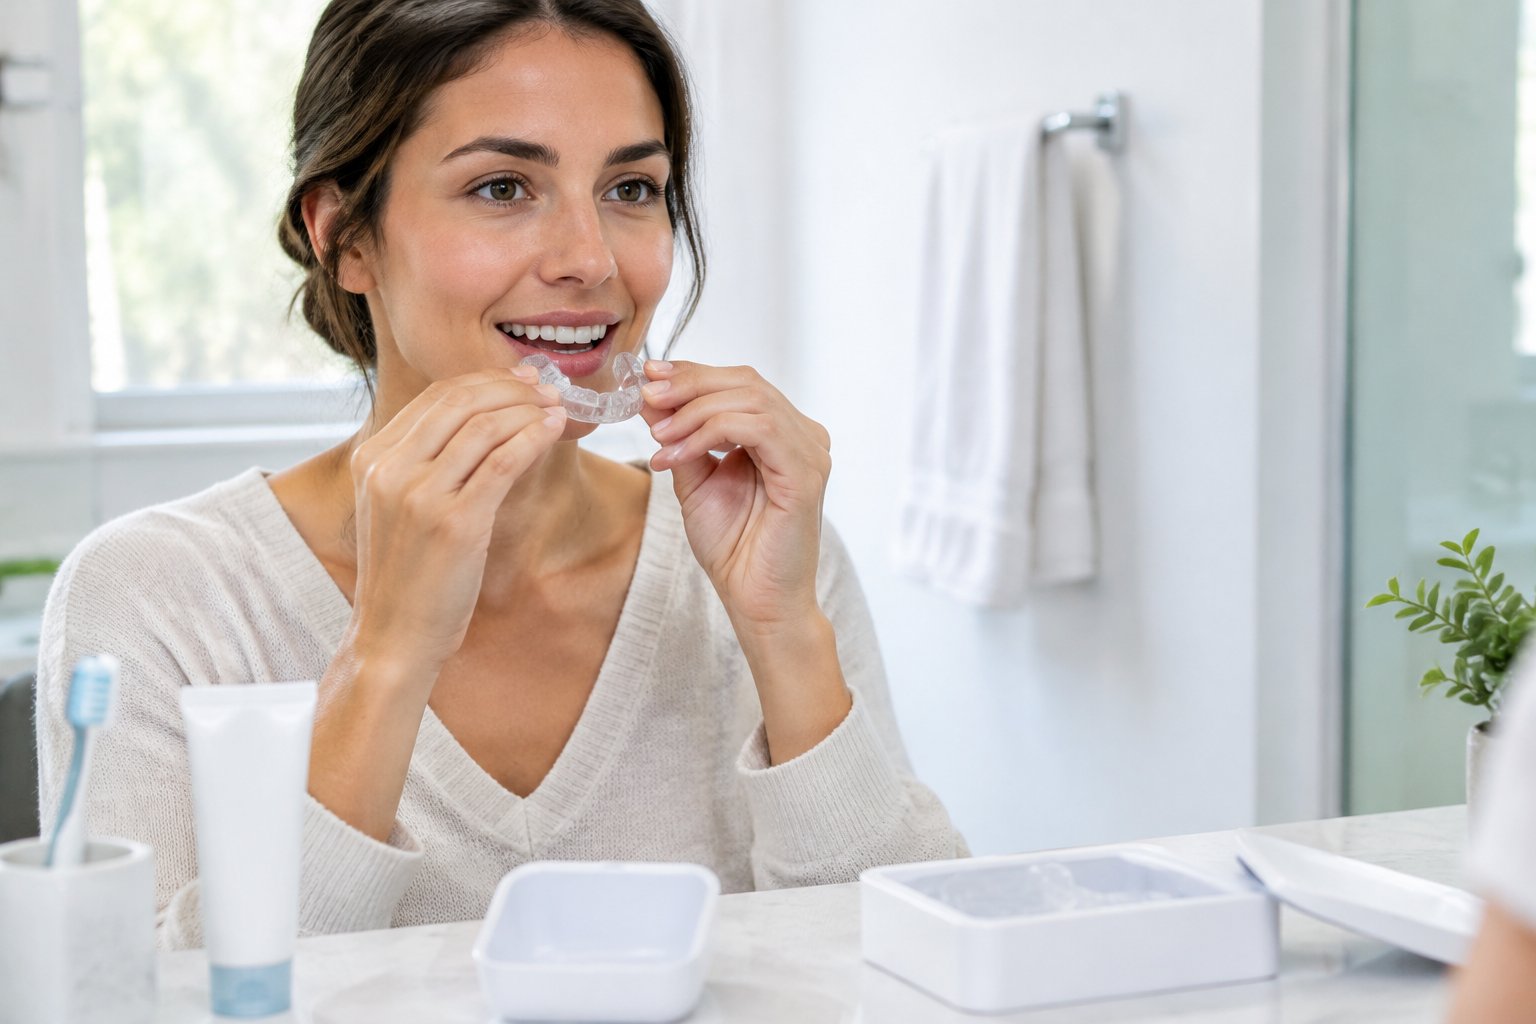
At-home teeth whitening uses peroxide to lighten discoloration in natural teeth. If you are deciding how to whiten your teeth, start by considering your dental health and the cause of the staining. A stronger gel or longer session increases exposure but does not guarantee the shade you want.
Step 1: Check Whether Your Teeth and Gums Are Ready
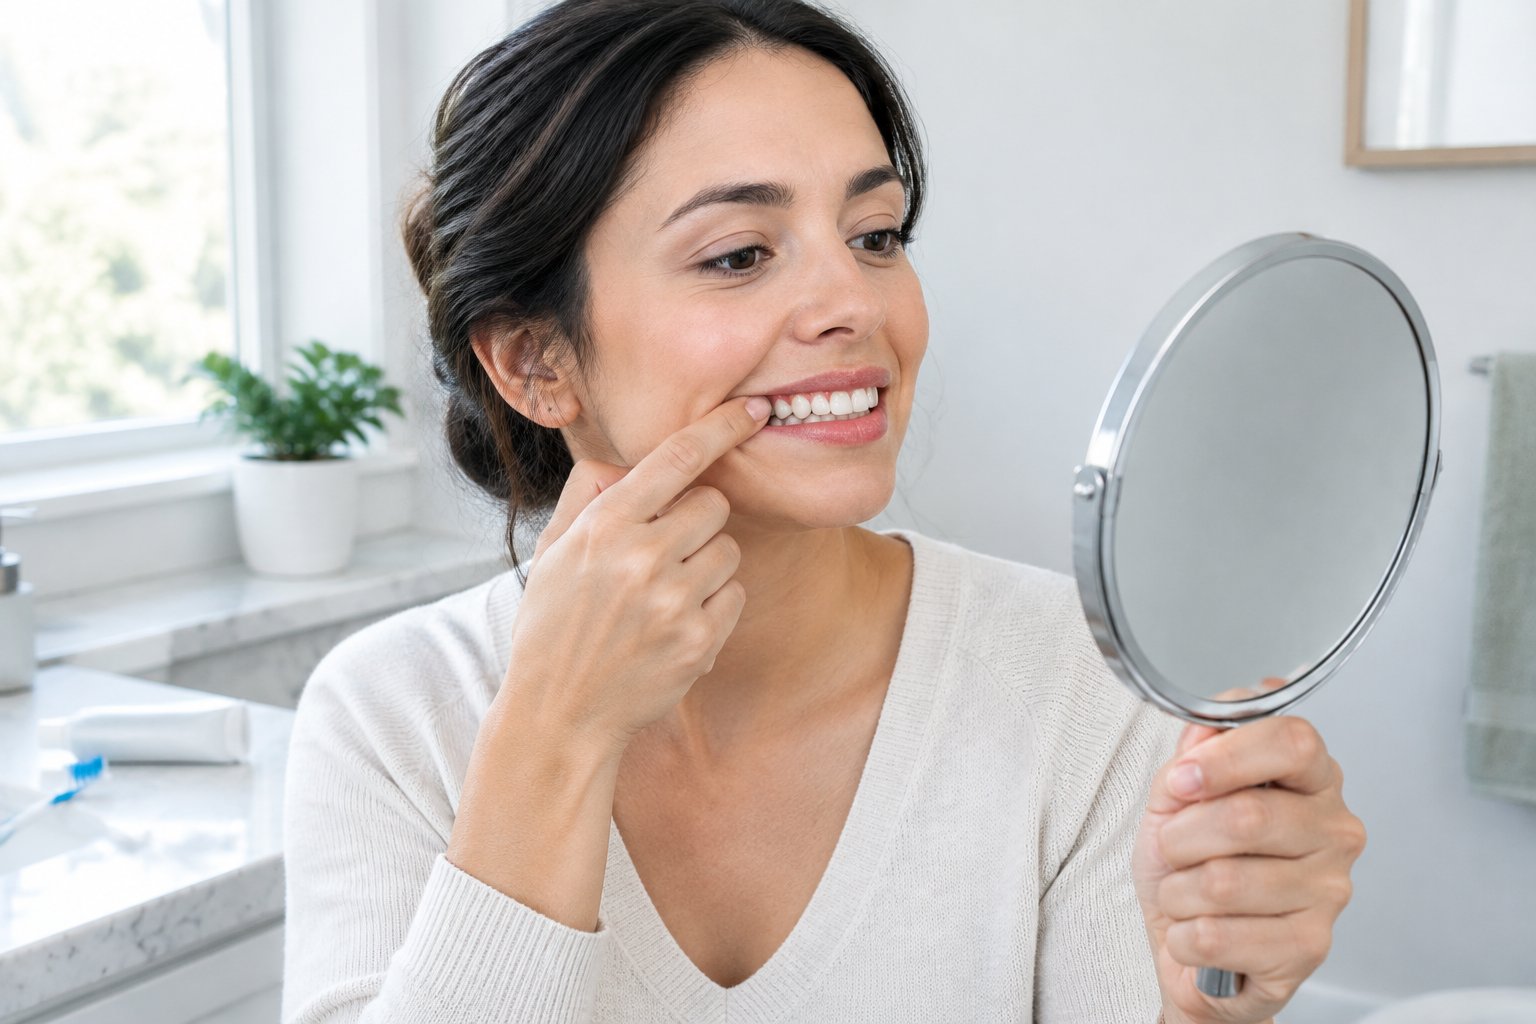
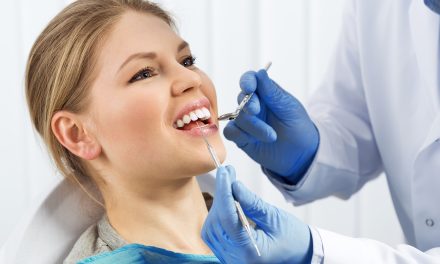
Healthy teeth and gums are the starting point for bleaching. We recommend a dental exam before treatment, especially if you have sensitivity or have missed routine care.
Postpone bleaching and arrange dental care if you notice:
- Bleeding, swollen, or sore gums.
- A broken tooth, loose filling, or visible cavity.
- Pain when biting or sensitivity limited to one tooth.
- A tooth that has suddenly turned dark.
If you need to treat gum disease, complete that care before applying a bleaching product. Exposed roots and inflamed tissue need extra attention because whitening gel can irritate these areas.
A professional dental cleaning removes hardened deposits and some surface stains. Afterward, your dentist can assess the remaining color. Intrinsic stains come from within the tooth. Their cause helps determine whether bleaching is suitable.
Step 2: Choose a Suitable Whitening Product
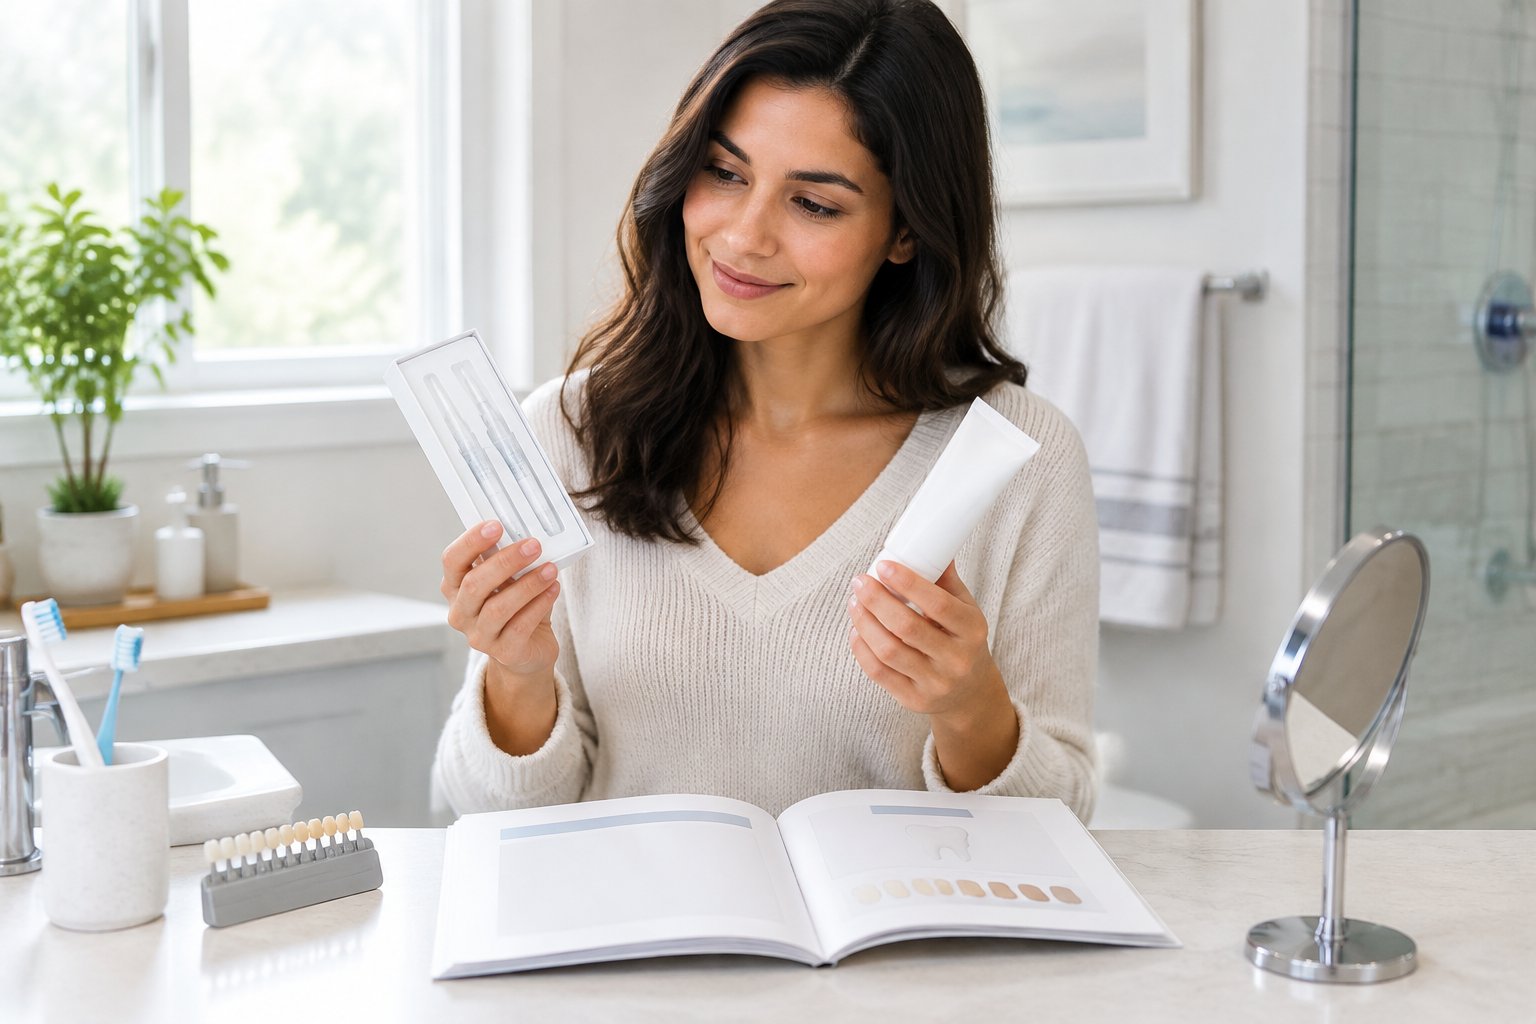
Choose a product made specifically for teeth whitening, with clear ingredient and usage instructions. Match the delivery method to your dental needs and ability to use it correctly.
- Whitening strips: A practical option for natural front teeth. Check that the strips sit securely without covering large areas of gum tissue.
- Whitening trays: Dentist-made trays provide a close fit and a prescribed gel schedule. Have loose trays checked before use.
- Whitening toothpaste: Best suited to removing surface stains and helping maintain results. Most formulas provide limited change to deeper tooth color.
- LED whitening kits: Check the gel and its directions carefully. A light does not prove that a kit is safer or more effective.
Look for the ADA Seal of Acceptance on eligible products. Products carrying the seal have met the ADA’s requirements for safety and effectiveness when used as directed.
Read the age limits, warnings, and full treatment schedule before buying. Avoid products with unclear peroxide strength or missing manufacturer information.
Step 3: Match Peroxide Strength to the Product Instructions
Peroxide concentration and wear time must follow the instructions for that exact product. Do not borrow a schedule from another kit, even when the packaging looks similar.
Hydrogen peroxide and carbamide peroxide are common bleaching ingredients. Carbamide peroxide releases hydrogen peroxide as it breaks down. Matching percentage numbers on the two labels does not mean the products have matching strength.
Before treatment, check:
- The active ingredient and its concentration.
- The amount of gel or number of strips per application.
- The allowed wear time and daily frequency.
- The length of the treatment course and rules for repeat use.
Peroxide passes through tooth enamel and dentin to act on stain compounds. Excess exposure raises the risk of sensitivity and tissue irritation.
Keep each gel with its original instructions. Use only the formulation prescribed or specified for your trays, and never increase its strength by mixing products.
Step 4: Prepare Your Mouth and Check the Fit
Prepare your mouth according to the product label, then check that the applicator rests comfortably against your teeth. Do this before adding gel to reusable whitening trays.
Keep up your usual oral hygiene routine, including gentle brushing and cleaning between teeth. Follow any product-specific advice about brushing right before treatment. Some strips advise against it to reduce gum irritation.
For reusable trays:
- Inspect them for cracks, sharp edges, or built-up residue.
- Try them in without gel and check for pinching.
- Clean and dry them as instructed.
- Confirm that they seat fully without pressing into the gums.
Ask your dentist to adjust a painful custom tray. Cutting or heating it yourself can change the fit.
If you already have sensitive teeth, ask about starting a fluoride sensitivity toothpaste before bleaching. Use it as labeled. Putting toothpaste into whitening trays requires separate dental advice.
Step 5: Apply the Bleaching Product and Follow Its Wear Time
Apply only the directed amount and set a timer as soon as treatment begins. Keep the instructions beside you during the first application.
- Wash your hands. Open the product and identify the upper and lower pieces if supplied.
- Position the product. Place whitening strips as labeled, or add the specified small amount of gel to each treatment area in the tray.
- Seat it gently. Avoid squeezing a loaded tray hard enough to force gel onto your gums.
- Remove overflow. Wipe away visible excess gel with a clean swab, following the product directions.
- End the session on time. Remove the strips or trays and complete the labeled rinsing or cleaning steps.
Avoid eating and drinking during treatment unless the manufacturer expressly allows it. Sleep with a whitening product only when its instructions or your dentist explicitly prescribe overnight wear.
Remove the product early if your gums become irritated. Extra gel and extended sessions increase contact with delicate tissue.
Step 6: Manage Sensitivity and Know When to Stop
Pause bleaching when tooth sensitivity or gum irritation starts. Seek dental advice for severe or persistent symptoms. Do not push through discomfort to finish a course.
Temporary sensitivity is a recognized side effect of bleaching. During a break, use lukewarm water and avoid foods or drinks that trigger pain.
A desensitizing toothpaste containing potassium nitrate helps calm sensitive nerves. Formulas containing stannous fluoride help block exposed pathways in dentin. Follow the label because relief develops with regular use.
Contact your dentist if you have:
- Sharp pain in one tooth or pain when biting.
- Pain that disrupts eating or sleep.
- Gum sores, peeling tissue, or persistent white patches.
- Symptoms that worsen or continue after you stop treatment.
Swelling with fever needs urgent dental attention. Trouble breathing or swallowing requires emergency care.
Resume whitening only after symptoms resolve and your dentist or the product instructions support restarting. A revised plan might use a milder formulation or fewer applications.
Which DIY Whitening Methods Should You Avoid?
Avoid homemade acidic mixtures, harsh scrubs, and household bleaching chemicals. Use products formulated for teeth, with controlled ingredients and clear contact times.
- Lemon juice and vinegar: Acids erode tooth enamel, especially with repeated exposure.
- Charcoal powders and aggressive scrubbing: Abrasion wears tooth surfaces and irritates gums.
- Medicine-cabinet hydrogen peroxide: Household solutions lack the application controls of a formulated dental whitening product.
- Household bleach: Never put cleaning bleach in your mouth.
- Oil pulling: Evidence does not establish it as an effective bleaching treatment.
Baking soda requires a useful distinction. A formulated baking soda whitening toothpaste has controlled ingredients and brushing directions. Mixing kitchen baking soda with acids or peroxide creates an uncontrolled treatment.
Avoid stacking several whitening treatments in the same day. Combining strips with a separate bleaching gel increases exposure and makes it harder to identify what caused irritation.
What Results Can You Expect With Stains and Dental Work?
Bleaching lightens natural teeth, while existing dental restorations keep their original shade. Discuss visible dental work with your dentist before choosing a target color.
Food-related surface stains and age-related yellowing respond more predictably than many deep discolorations. When planning to whiten stained teeth, consider whether the stain is on the surface or comes from trauma, medication exposure, or changes inside the tooth. Some intrinsic stains need a different treatment.
Whitening strips and gels typically produce visible lightening within two weeks. Your starting shade and product schedule affect the result. Judge your progress after the directed course.
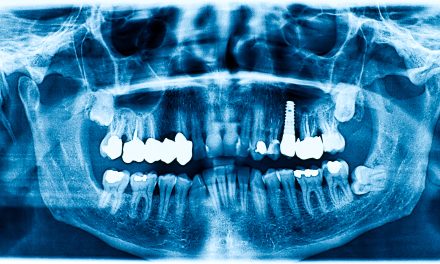
Crowns, veneers, fillings, and bonding do not whiten with bleaching treatment. Whitening the surrounding teeth may create a color mismatch.
If you are planning dental crowns or other visible restorations, discuss treatment order with your dentist. A prosthodontist is especially helpful when extensive dental work requires coordinated shade matching. Cosmetic dentistry options should follow an assessment of tooth health and the cause of discoloration.
How Can You Maintain Results Without Overbleaching?
Maintain results through daily oral hygiene and touch-ups that follow your dentist’s plan or the product label. Finish the prescribed course and reassess before starting another.
Brush with fluoride toothpaste and clean between your teeth daily. A whitening toothpaste helps control surface stains when used as directed, but switch to a suitable sensitivity formula if brushing becomes uncomfortable.
Reduce repeated exposure to tobacco and staining drinks. Rinsing with water after coffee or tea helps clear residue. A tooth-friendly diet also supports dental health beyond tooth color.
Keep dental cleaning appointments on the schedule your dental team recommends. If your smile looks dull again, have deposits and new staining checked before adding another bleaching course.
Record the dates of treatment and any symptoms. This gives your dentist useful details when deciding whether a touch-up is appropriate.
Let Product Directions and Comfort Guide Your Routine
Keep at-home teeth whitening within the product’s stated dose and schedule. Start with healthy teeth and gums, check the fit, and stop when tooth sensitivity or irritation develops.
If the directed course leaves uneven color or disappointing results, book a dental assessment before repeating treatment. Bring the packaging and your treatment dates so your dentist can review the next step.
Frequently Asked Questions
At-home teeth whitening needs extra care during pregnancy, for younger people, and around braces. Get dental advice before starting in any of these situations.
Can you bleach your teeth during pregnancy or breastfeeding?
We recommend postponing elective teeth whitening during pregnancy and discussing breastfeeding with your dentist. Safety evidence for cosmetic bleaching during these periods is limited.
Can children use at-home whitening products?
We recommend a dental assessment before any child or teenager uses a bleaching product. Follow the product’s age restrictions, and have unexplained discoloration checked before treating it.
Can you use whitening strips with fixed braces?
We recommend waiting until fixed braces are removed unless your orthodontist prescribes a specific approach. Brackets cover parts of the enamel, which creates a risk of uneven whitening.
What should you do if you swallow whitening gel?
Stop treatment, spit out the remaining gel, and rinse your mouth. For more than a small accidental amount, symptoms, or any child exposure, contact Poison Control at 1-800-222-1222 and keep the product packaging available.
Does hydrogen peroxide whiten fillings?
Hydrogen peroxide does not change the shade of fillings. Before bleaching nearby natural teeth, check with your dentist about visible fillings.